Essential Gear for Home Recording
Your Sound Palette: Must-Have Recording Equipment
Recording your guitar at home is like painting a masterpiece—you need the right tools to bring your vision to life. Let’s set you up with the gear that’ll make your tracks sing.
First things first: a solid audio interface. This is the bridge between your guitar and your computer—a magic box that converts your riffs into digital gold. Popular options like the Focusrite Scarlett or Universal Audio Volt are reliable, easy to use, and perfect for home setups.
Next, don’t underestimate the power of a good pair of studio headphones. Forget cheap earbuds! You want to *hear* every nuance, squeak, and slide. Look for models like the trusty Audio-Technica ATH-M50x, known for their crisp sound and durability.
Here’s what else you’ll need:
- A dynamic microphone, such as the Shure SM57, for recording straight from your amp.
- A DAW (Digital Audio Workstation) like Ableton, Logic Pro, or GarageBand to edit and produce your tracks.
- And don’t skip out on sturdy instrument cables; bad wiring equals bad vibes.
With these in hand, you’re not just ready to record—you’re ready to create magic.
Setting Up Your Home Studio
Transform a Space Into Your Creative Den
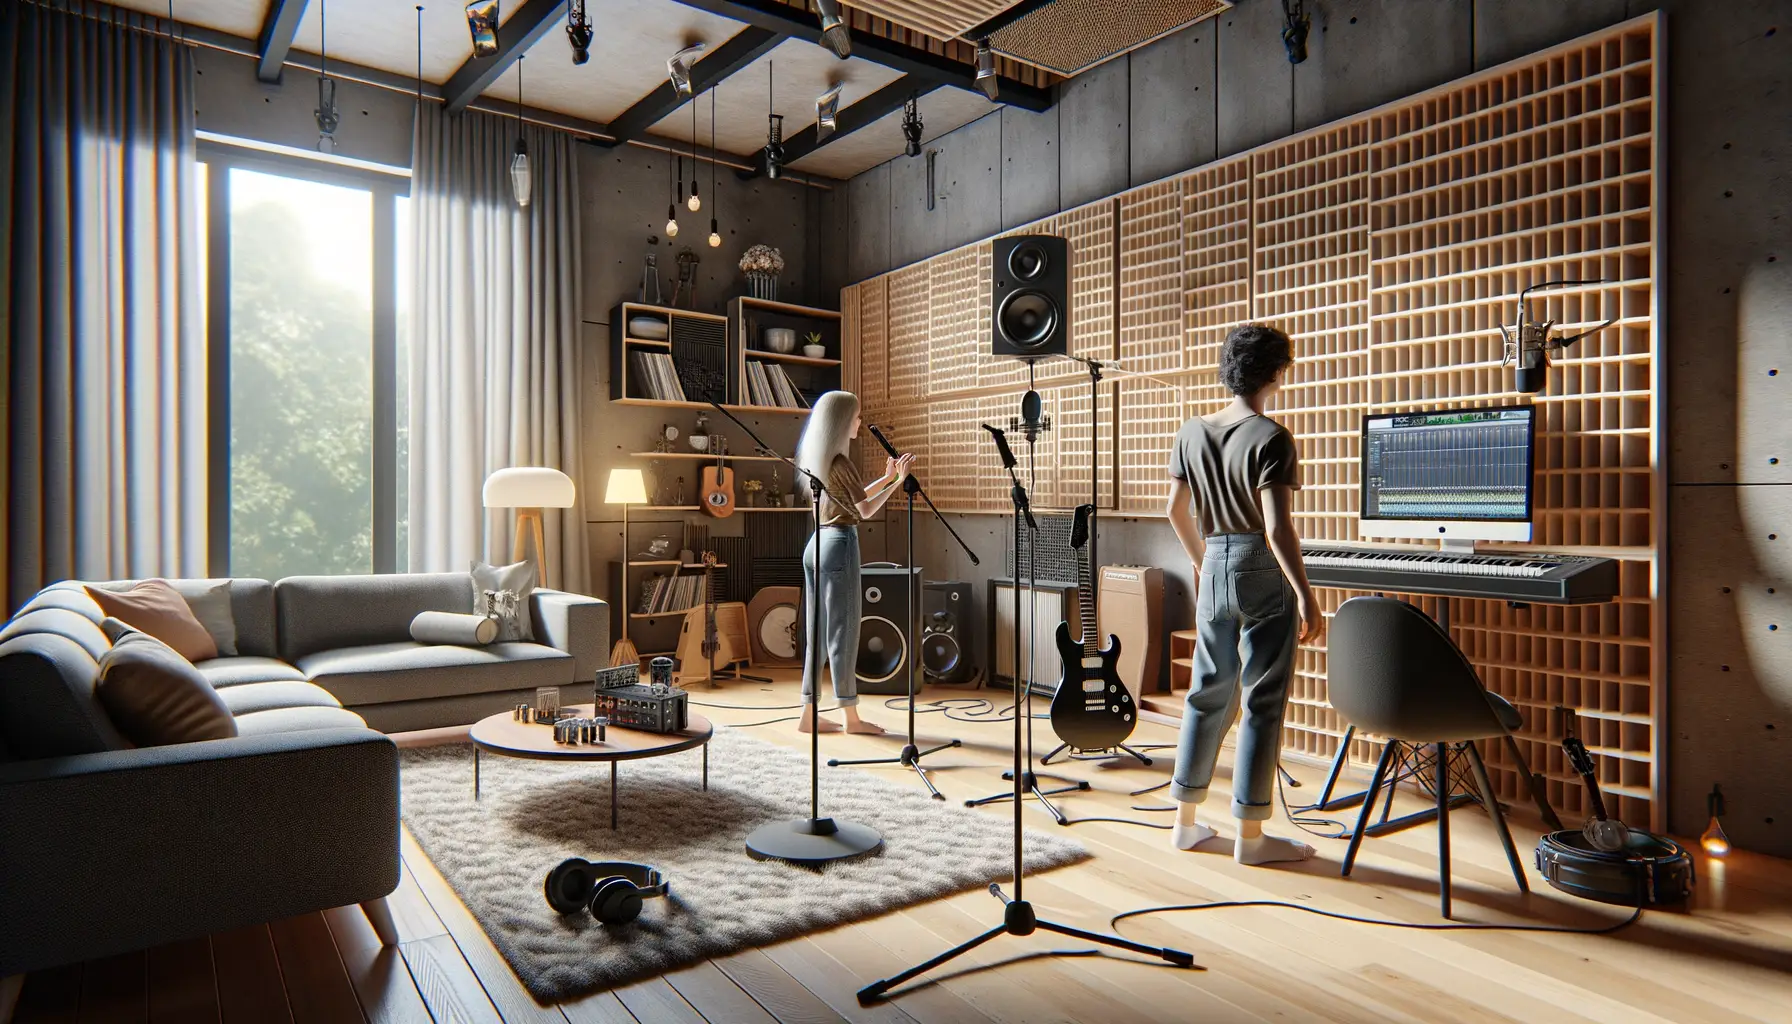
It’s time to claim your corner of the universe. Setting up a home studio doesn’t mean you need a huge, soundproofed room. Think cozy, not colossal. A spare bedroom, a nook in the basement, or even a well-organized closet can become your sanctuary for sonic creation. The key? Making it yours.
First, let’s talk vibe. Surround yourself with what inspires you—your favorite records on the wall, soft lighting, maybe even a plant or two (yes, plants are great listeners). Comfort is essential, but avoid clutter. You need room to think and strum freely.
Practicality matters, too:
- Acoustic treatment: Add foam panels or heavy curtains to minimize harsh echoes.
- Smart desk placement: Position your desk and gear away from corners where sound can bounce around like an unruly ping-pong ball.
And don’t forget cable management! Nothing saps creativity faster than tripping over cords when you’re chasing that perfect riff. Pro tip: Velcro ties are your new best friend.
Designing a Workflow That Feels Effortless
Picture this: Your guitar is within arm’s reach, your audio interface is ready to roll, and your computer is just a swivel away. That’s the dream setup—simple, efficient, and tailored to you.
Use a sturdy desk or table to arrange your essentials like your laptop, monitors, and that trusty pair of headphones. If you’re working with minimal space, go vertical. Wall-mounted shelves or stands for amps and effects pedals free up precious real estate.
Lastly, consider ergonomics—your future self will thank you. Keep your chair comfy and your posture right while playing. Recording is a marathon, not a sprint.
Step-by-Step Guide to Recording Guitar at Home
Get Your Gear Talking to Each Other
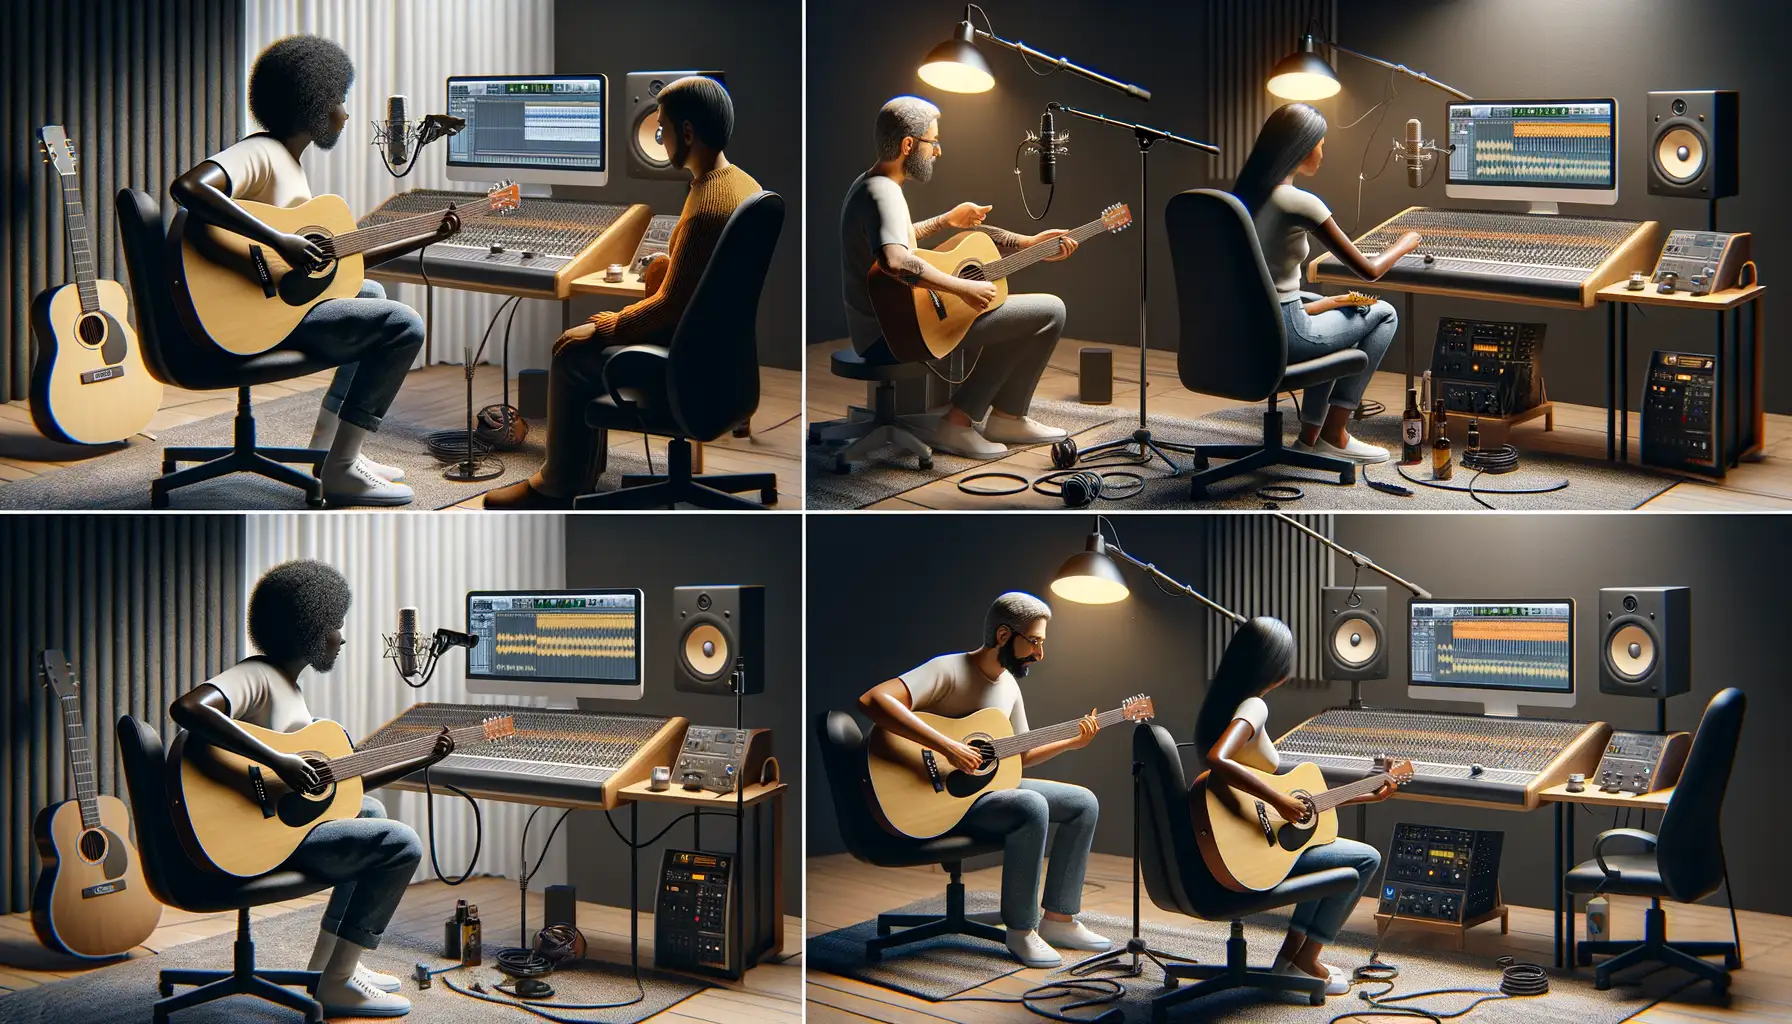
Picture this: your guitar practically begging to sing its heart out, but the tech isn’t cooperating. The first step? Plugging everything in and making nice introductions. Use a high-quality instrument cable to connect your guitar to your audio interface. Got pedals in your setup? Place them in the signal chain before plugging into the interface.
Once connected, open up your DAW (Digital Audio Workstation). Whether you’re rocking Logic Pro, Pro Tools, or trusty ole’ GarageBand, make sure the input is set to your audio interface. Hear crackling or overly quiet signals? Adjust the gain knob on the interface—your sound should come through as smooth as melted butter (but not so hot it clips!).
- Test your levels by strumming a few chords—no one likes surprises when they hit record.
- Create a new track in your DAW, arm it for recording, and take it for a spin!
Let the Magic Happen
Here’s where creativity meets precision. Start simple: record clean takes first. Want to spice things up? Experiment with amp sims or mic placements if you’re miking an amp. Dual-mic setups can give incredible depth—but even a single well-placed mic can capture your guitar’s soul.
And don’t be afraid of imperfection—it’s often where artistic gold is found. Mistakes? They might just give your recording character. Or, you know, take another shot!
Tips for Achieving Professional Sound Quality
Fine-Tune Your Tone Like a Pro
Achieving professional sound quality is like cooking the perfect meal—you need just the right ingredients and a pinch of intuition. Start with your guitar tone. Are your pickups doing justice to your sound? Dial in your amp settings thoughtfully, but don’t stop there. Every great recording begins with great tone, so experiment until you find that sweet spot where your guitar sings, not shouts.
Pay attention to your strings! Old, tired strings can make even the best riffs sound dull. Fresh strings bring brightness and clarity—think of them as a fresh coat of paint on your masterpiece.
Pro Tip: Play around with your pick selection—it may surprise you how much a thicker or thinner pick shapes your sound.
Polish the Details for That Studio Shine
Sound quality depends on the little things that often go unnoticed. Position your microphone carefully—just moving it an inch closer to the amp can completely change the vibe. Don’t be afraid to try unconventional mic placements, like pointing it slightly off-axis for a warmer feel.
Also, invest time in editing. Guitar tracks have quirks; maybe there’s a stray buzz or an unintended squeak. Use EQ to carve out space for your guitar in the mix and minimize muddy frequencies.
- Boost the midrange for solos to cut through the mix.
- Use reverb sparingly—it’s the salt, not the soup.
Most importantly, trust your ears. If it gives you goosebumps, you’re on the right track.
Common Mistakes and How to Avoid Them
Don’t Let Technical Troubles Trip You Up
Sound-checking isn’t just a courtesy—it’s your lifeline! One of the biggest blunders? Ignoring levels. If your guitar signal is too high, you’ll end up with an overdriven mess; too low, and your recording sounds like it’s hiding in another room. Keep an eye on your DAW’s meters, aiming for that sweet spot where the levels hover in green without dipping into red.
Another common pitfall? Forgetting to monitor through headphones. Think about it: using your studio monitors while recording introduces mic bleed—that faint, ghostly echo of your playback seeping into the recording. It’s avoidable, though! Pop on those trusty headphones and keep your tracks pristine.
Also, check your cables. That one crackling sound or intermittent buzz? Nine times out of ten, it’s a janky cable that’s seen better days. Always have spares handy, because nothing kills creativity faster than hunting for gear mid-session.
- Test your levels before hitting record.
- Switch to headphones when playing back live.
- Inspect—and respect—your cables regularly.
Overcomplicating Equals Overwhelming
Sometimes, less really is more. Layering guitar tracks can make your song soar, but piling on effects simply because you *can*? That’s a one-way ticket to a muddy mix. Take reverb, for instance. A sprinkle adds atmosphere; a tsunami drowns your tone. Start subtle, adjust thoughtfully.
And speaking of tone, obsessing over it at the wrong time is a rookie trap. Your recorded sound might not match how it feels *in the moment*, but guess what? Final tweaks happen during mixing, not during tracking. Focus on capturing a clean, consistent performance instead of auditioning every amp sim in existence.
Keep things simple, stay focused, and remember: your best takes often come when you’re *playing*, not tweaking!